728x90
datePicker 연습,,
더보기
start 버튼 누르면 지정한 시간 로그에 찍힘
지정한 시간 프린트
@objc func didTapStartButton() {
    print(#function)
    let setTime = Int(timerDatePicker.countDownDuration) //
    setTimer(with: setTime)
}

func setTimer(with countDownSeconds: Int) {
    print("countDownSeconds: \(countDownSeconds)")
}
지정한 시간 끝나면 프린트 찍힘
@objc func didTapStartButton() {
    print(#function)
    let setTime = Double(timerDatePicker.countDownDuration) //
    setTimer(with: setTime)
}

func setTimer(with countDownSeconds: Double) {
    print("countDownSeconds: \(countDownSeconds)")
    let timer = Timer.scheduledTimer(withTimeInterval: countDownSeconds, repeats: false) { _ in
        print("\(countDownSeconds)초 지났다!")
    }
}
scheduledTimer(withTimeInterval:repeats:block:)
지정된 시간 간격마다 실행되는 타이머를 만듭니다. 클로저 형식의 블록을 사용하여 타이머가 실행될 때 수행할 작업을 지정할 수 있습니다.
반복 하지 않을 것이기 때문에 repeats 는 false
withTimeInerval 타입이 더블이라 함수 파라미터 타입도 Double 로 바꿔줌
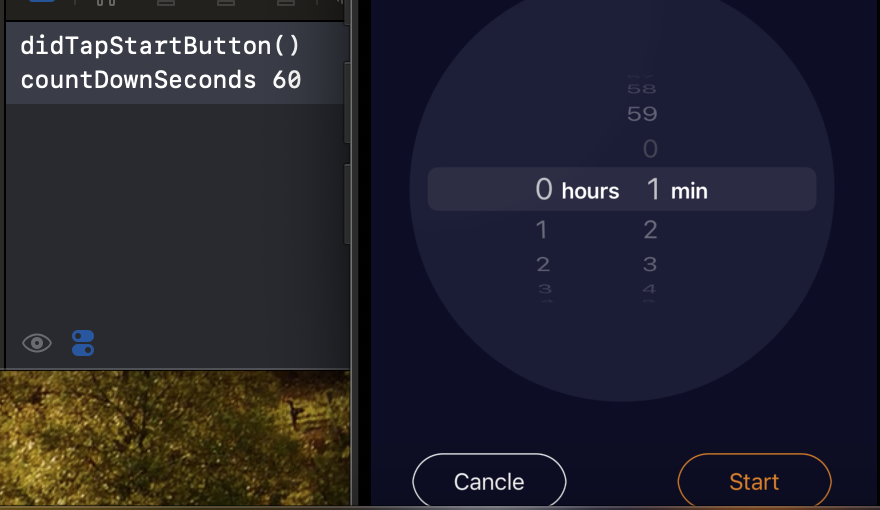
콘솔창
didTapStartButton()
countDownSeconds: 60.0
60.0초 지났다!
지정된 시간 지나고 프린트가 찍혔다
UIDatePicker 를 쓰니 기본적으로 분까지만 나옴
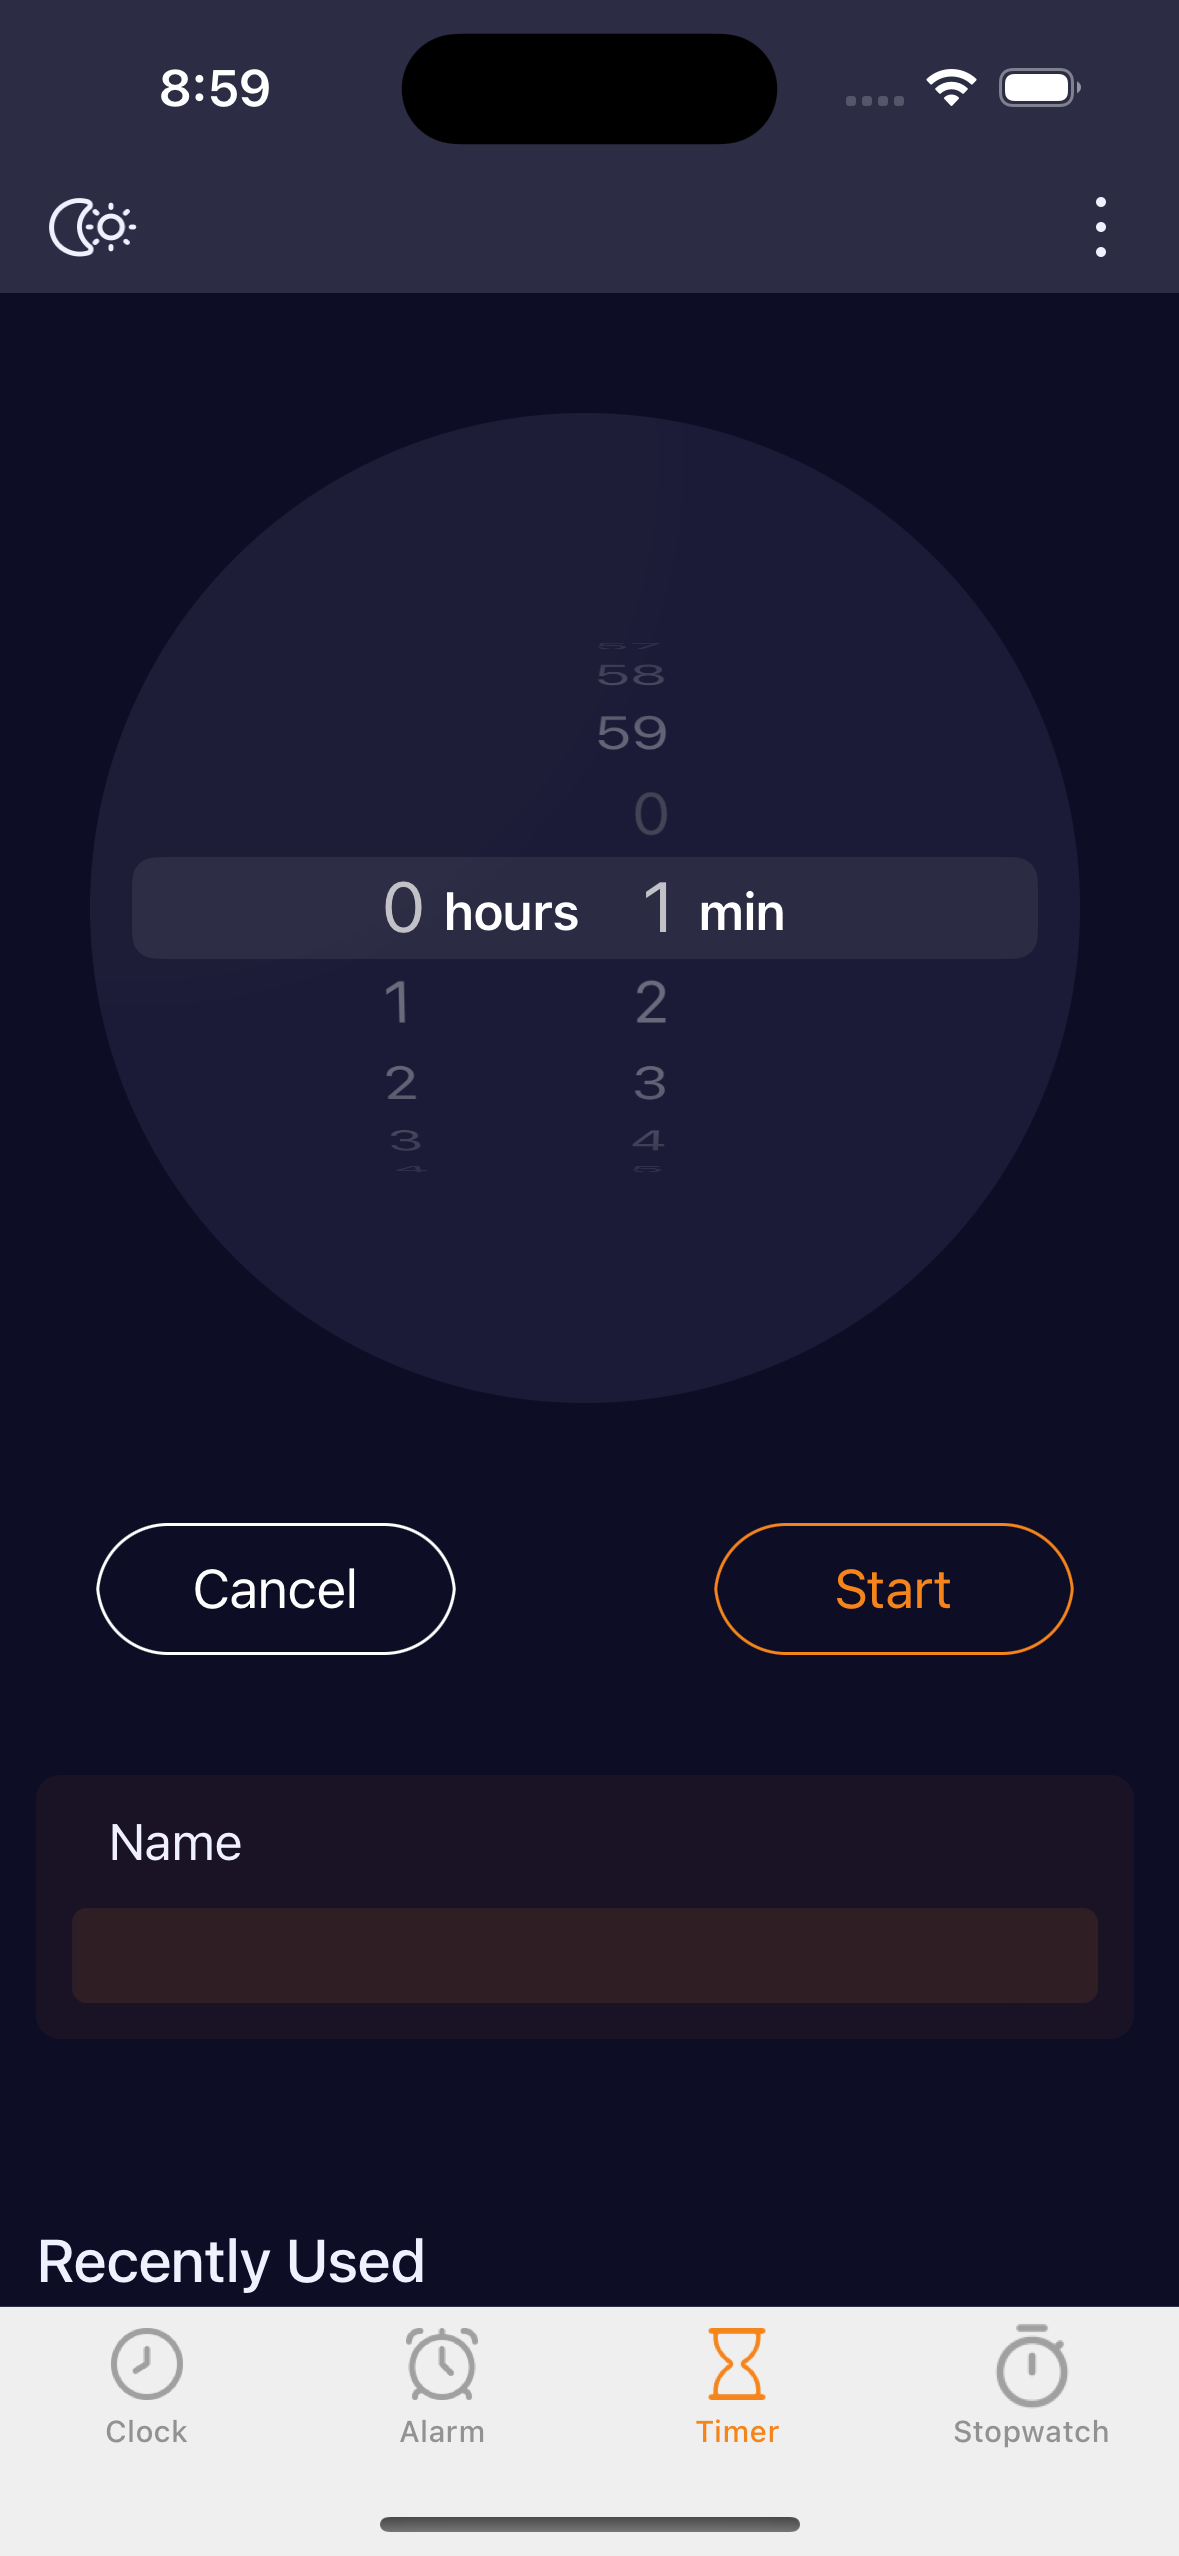
초까지 나오는 라이브러리가 있어서 그걸 사용해볼까 한다
패키지 매니저로 라이브러리 추가
https://github.com/mac-gallagher/DurationPicker
GitHub - mac-gallagher/DurationPicker: ⏰ A customizable picker for selecting time values with hours, minutes, and/or seconds
⏰ A customizable picker for selecting time values with hours, minutes, and/or seconds - mac-gallagher/DurationPicker
github.com
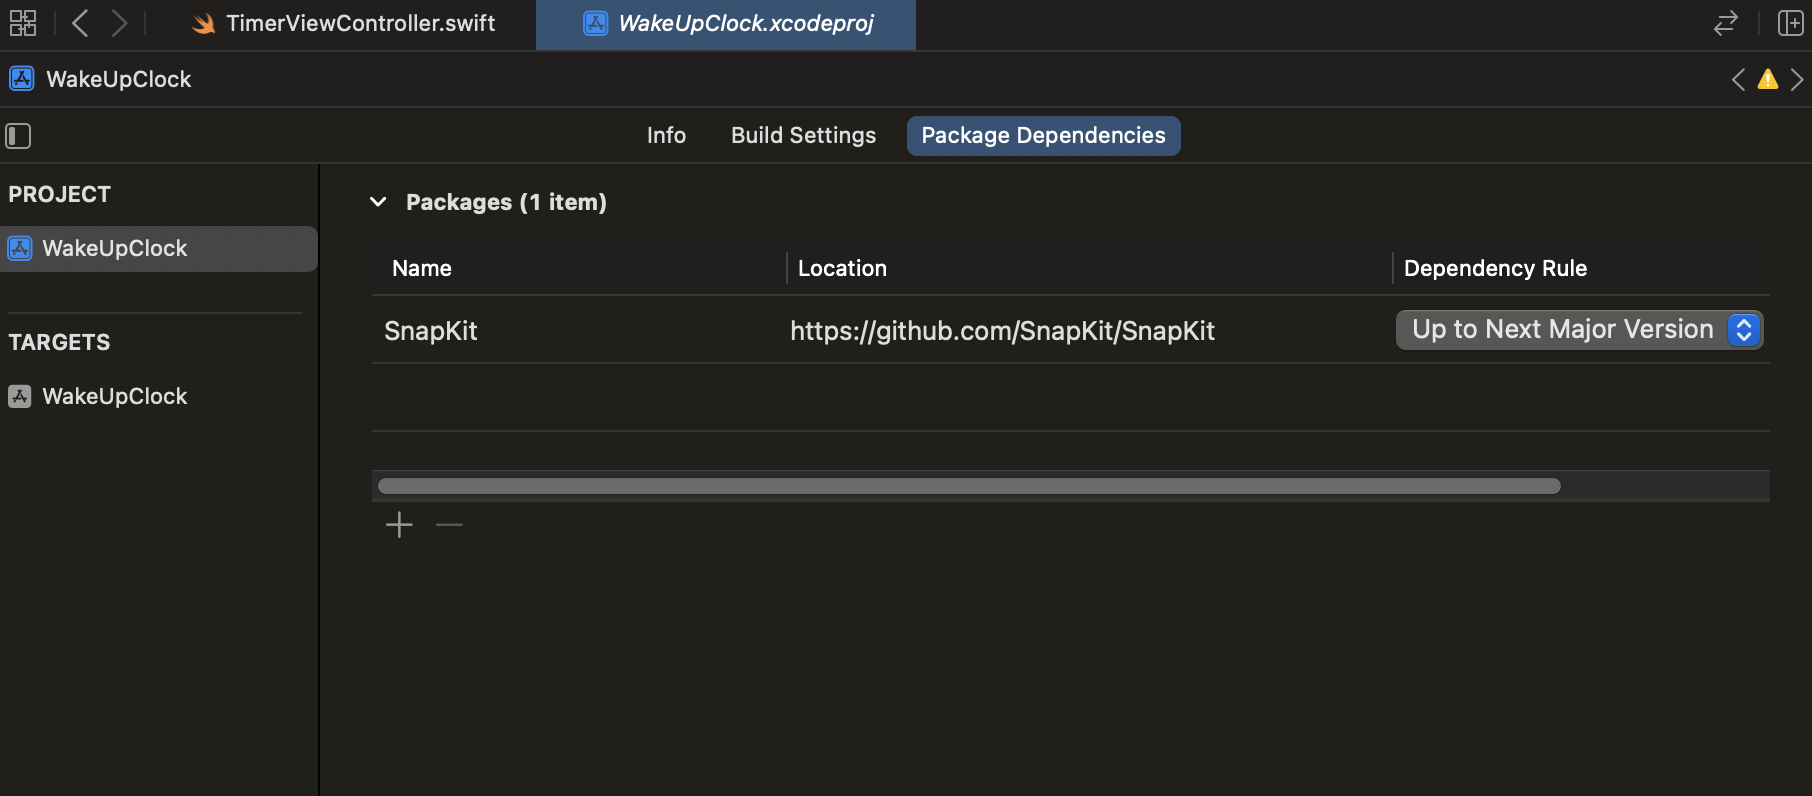
PROJECT - Package Dependencies 에서 플러스 클릭
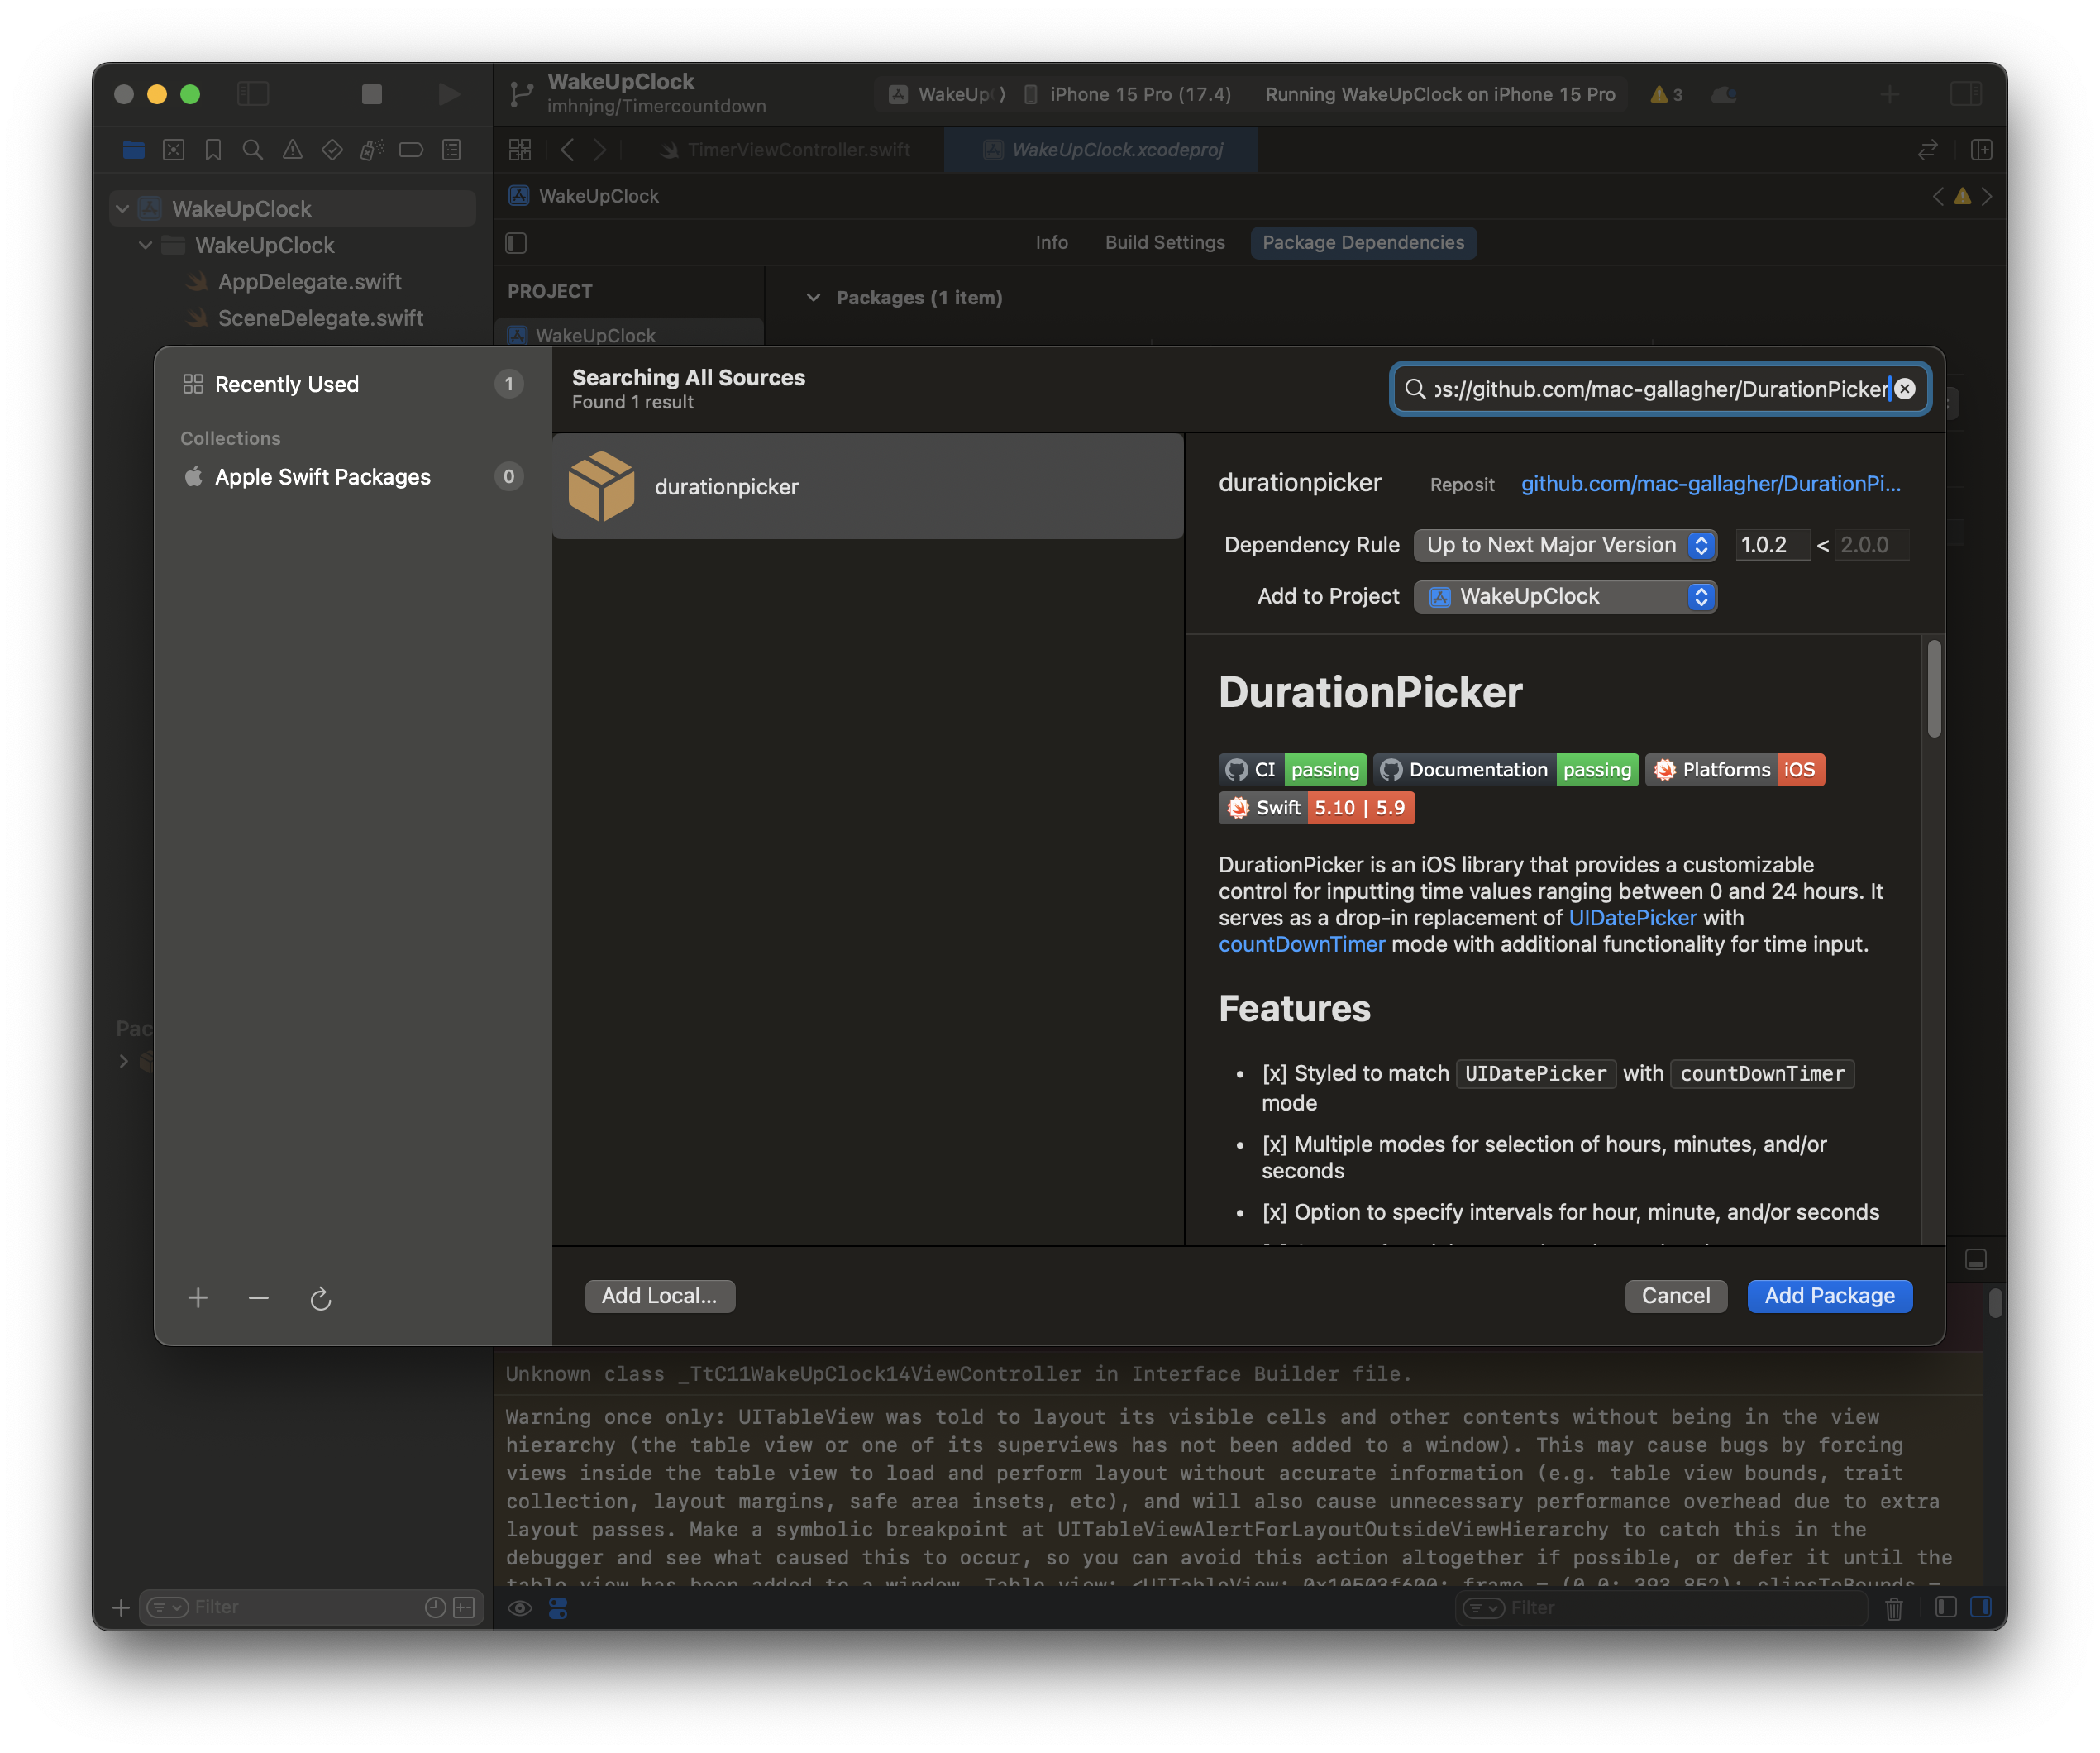
깃헙 url 복사해서 검색하면 나옵니다
Add Package 누르면 끝
DutaionPiker 사용
기존 UIDatePicker 랑 사용 방법이 크게 다르지 않습니다
해당 깃헙에도 사용 방법이 있으니 참고하시면 됩니다
임포트
import DurationPicker
생성
let timerDurationPicker = DurationPicker()
뷰에 추가 및 오토레이아웃 잡기
contentView.addSubview(timerDurationPicker)
timerDurationPicker.snp.makeConstraints {
    $0.centerX.equalTo(backgroundCircleView.snp.centerX)
    $0.centerY.equalTo(backgroundCircleView.snp.centerY)
}
PickerMode 선택
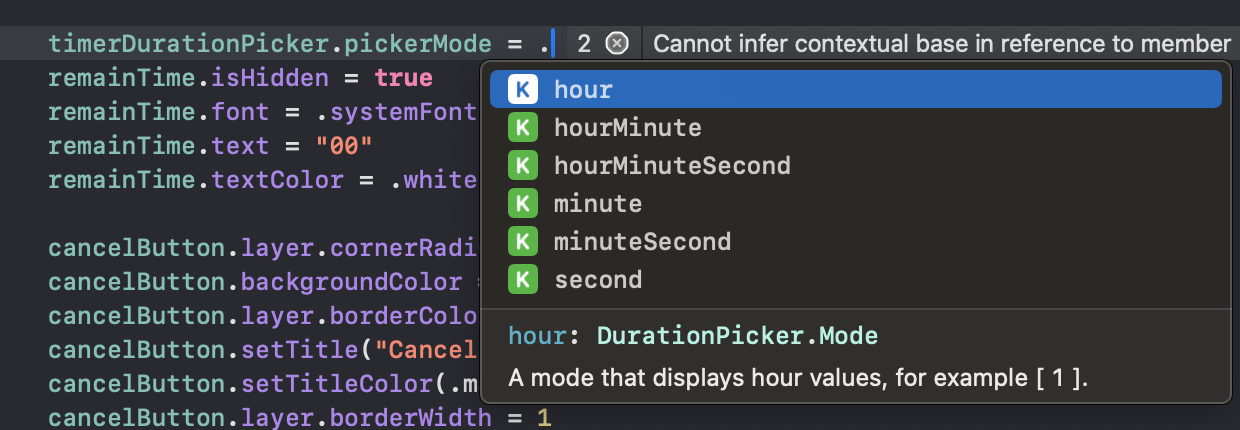
시간, 분, 초가 다 나오는걸로 선택
Start 버튼이 눌리면 타이머 시작
@objc func didTapStartButton() {
    print(#function)
    let setTime = Int(timerDurationPicker.duration) // 설정 된 시간
    setTimer(with: setTime)
}
타이머 함수 설정
// 타이머 시작
func setTimer(with countDownSeconds: Int) {
print("countDownSeconds: \(countDownSeconds)")
timerDurationPicker.isHidden = true
remainTime.isHidden = false
let startTime = Date() // 현재시간
timer.invalidate() // 기존에 실행된 타이머 중지
remainTime.text = String(countDownSeconds) // 설정된 시간으로 시작
timer = Timer.scheduledTimer(withTimeInterval: 1, repeats: true, block: { [weak self] timer in
let elapsedTimeSeconds = Int(Date().timeIntervalSince(startTime)) // 경과된 시간
let remainSeconds = Int(countDownSeconds) - elapsedTimeSeconds // 남은 시간
guard remainSeconds >= 0 else {
timer.invalidate() // 0초 되면 타이머 중지
self?.timerDurationPicker.isHidden = false
self?.remainTime.isHidden = true
return
}
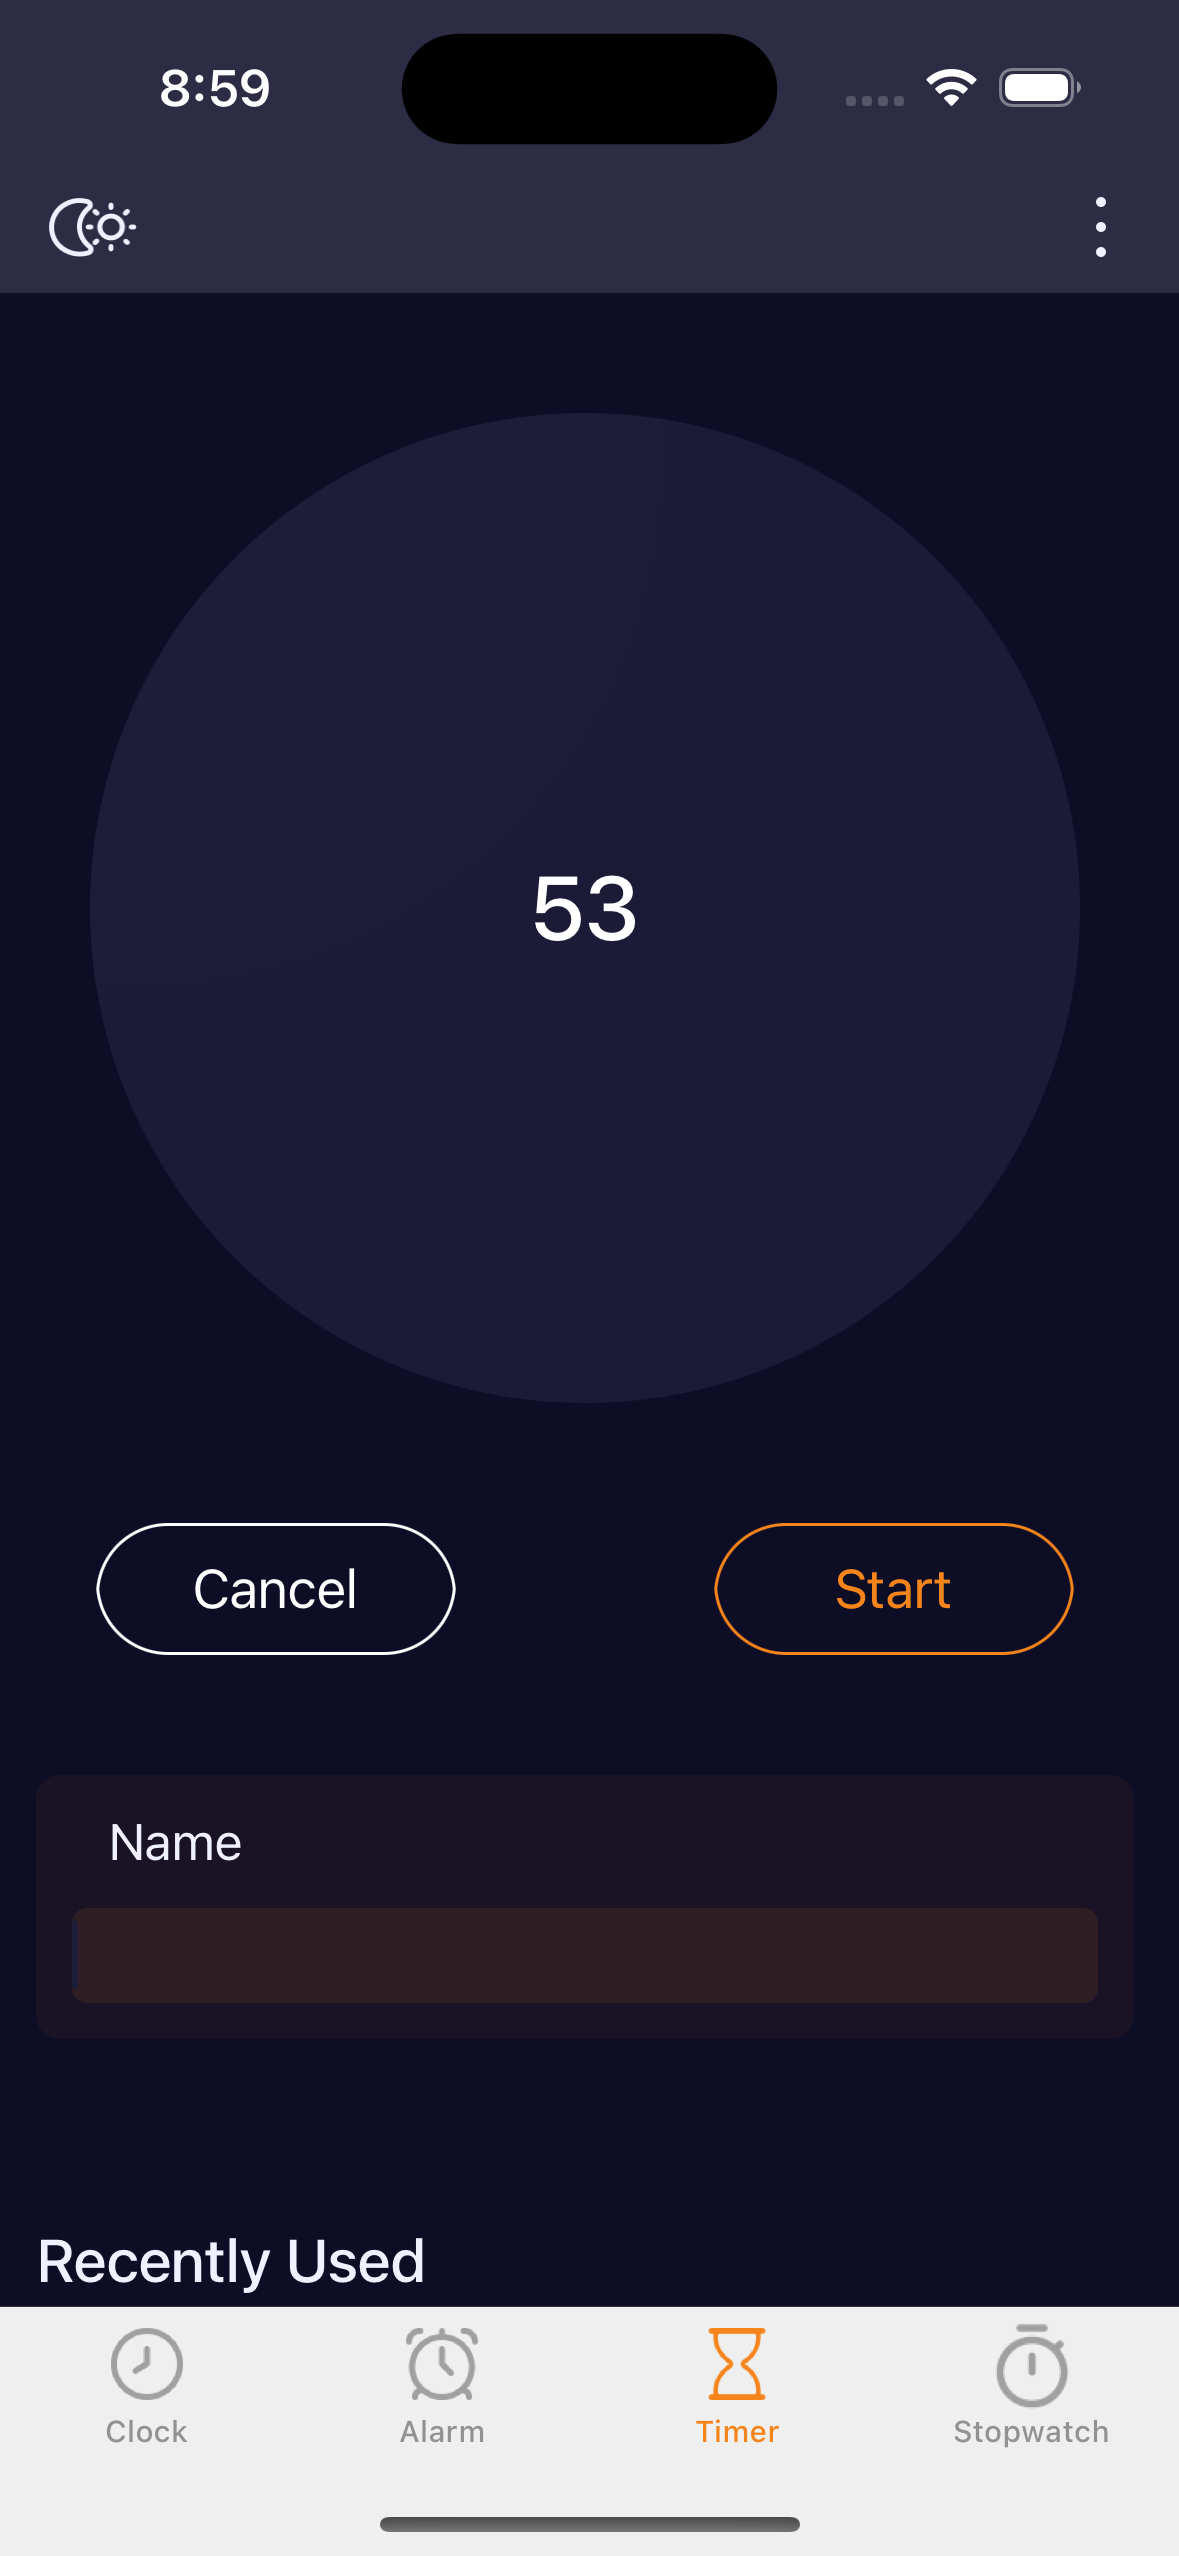
print("remainSeconds: \(remainSeconds)")
self?.remainTime.text = "\(remainSeconds)"
})
}
728x90
'iOS Swift > Study' 카테고리의 다른 글
| [Swift] 알람앱 - 타이머(4) 상태변화에 따라서 UI 변경 및 로직 구현(시작, 일시정지, 재시작, 취소) (2) | 2024.05.16 |
|---|---|
| [Swift] 알람앱 - 타이머(3) - 타이머 초를 HH:MM:SS 포맷으로 보여주기 (0) | 2024.05.15 |
| [Swift] 알람앱 - 타이머(1) - 타이머 UI (0) | 2024.05.13 |
| [Swift] 책 검색 App (10) - 무한 스크롤 (0) | 2024.05.11 |
| [Swift] 책 검색 App (9) 책 담을시 얼럿창 띄우기 (0) | 2024.05.09 |


댓글